Lace-up your hiking boots may seem like a simple task, but it plays a crucial role in ensuring comfort and support and preventing injuries during outdoor adventures. Proper lacing technique can prevent blisters, reduce foot fatigue, and provide greater stability, especially when tackling difficult terrain. In this blog, we’ll explore the best ways to lace your hiking boots in 2025, focusing on different lacing techniques designed to improve performance, fit, and overall comfort.
When choosing how to lace your hiking boots, it’s important to understand that no two feet are the same. Everyone has different foot shapes, sizes, and preferences, meaning the ideal lacing method will vary depending on individual needs. Still, a few general principles can help you achieve the perfect fit and maximum comfort while hiking, whether you’re tackling a short trail or embarking on a multi-day backpacking trip.
The first consideration when lacing your hiking boots is the fit of the boots themselves. Before you even start lacing, it’s imperative to make sure your boots are the right size and have been properly broken in. A good pair of hiking boots should feel snug in the heel and midfoot, but not so tight that your toes are constricted. There should be enough room in the toe area for your toes to wiggle slightly, but not so much that your feet slide around in the boots. If your boots don’t fit properly from the start, no lacing technique will correct that, so it’s always best to try boots on in-store or buy from a reputable brand that offers good return policies.
Once you’ve found the right pair of boots and are ready to lace them up, it’s time to think about how to achieve the perfect fit for your individual foot shape and comfort needs. Here are some of the most popular and effective ways to lace hiking boots:
The Basic Lacing Technique
The basic lacing technique is the easiest method and works for most people and most types of hiking boots. Start by threading the laces through the eyelets on the bottom of the boot, making sure both sides are the same length. Pull the laces tight, then begin threading them in a crisscross pattern along the boot, making sure the laces are the same length on both sides. Tighten the laces upward to eliminate slack, but don’t over-tighten them so they don’t become uncomfortable or restrict circulation. The goal is a snug fit that prevents movement of the foot in the boot without causing pressure points.
For many hikers, this simple crisscross lacing method works well to create enough tension across the foot and ankle. However, there are some advanced techniques that may provide more specific benefits depending on the type of hike and foot shape.
Heel Lock Lacing
One of the most effective ways to keep your heels in place and prevent heel lift (a common cause of blisters) is the heel lock lacing technique. To do this, lace your boots in the usual crisscross pattern up to the second to last row of eyelets, but before you make the final crossover, take the laces from both sides and loop them around the last eyelet on each side to form a “lock.” This will make the shoe fit more securely around your ankle and keep your heel in place so it doesn’t slide up and down inside the boot.
This technique is especially useful for people with narrow or flat heels as it reduces foot movement and provides a more secure, customized fit. It can be especially helpful on long hikes where constantly lifting your heel can lead to blisters and discomfort.
Arch-lock lacing
If you’re feeling pressure or pain on the top of your foot, arch-lock lacing may be a solution. This technique uses the laces to create additional tension over the midfoot, which can relieve pressure and help stabilize the foot. When using this technique, lace your boots in the usual criss-cross pattern, but when you reach the second eyelet from the top, use the laces to create a loop on each side. Then cross the laces over the loop and pull tight to create additional tension over the arch.
This method is ideal for people with high arches or those who find that their boots don’t provide enough support in the midfoot area. By securing the arch, this technique helps distribute weight evenly and reduce fatigue over long distances.
Lacing the Toe Box
If you find your toes feel constricted or uncomfortable while hiking, especially on descents when your toes can slide forward in the boot, lacing the toe box can help. This technique is designed to reduce pressure on the toes by reducing tightness in the toe box.
To lace the toe box, use the standard “cross over” method until just before the toe box. Instead of continuing the lacing across the toes, loosen the laces in this area to give your toes more room to move. This can greatly increase comfort, especially on longer hikes or steep terrain where toe pressure builds up.
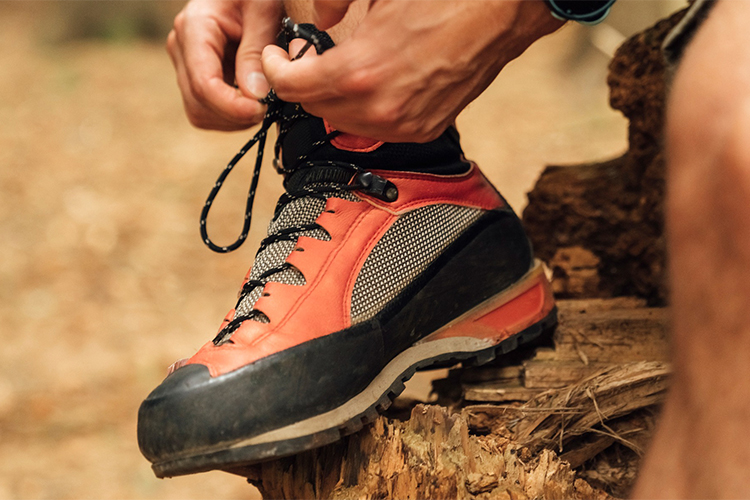
Adjusting for Swollen Feet
On long hikes, it’s normal for feet to swell due to increased blood flow and pressure. If you find your feet swell during the hike, you may need to adjust the tightness of your laces as you walk. One option is to lace your boots loosely at first and then gradually tighten them as the day goes on. Alternatively, you can use a method called “lace extenders” to ensure your boots stay comfortable even as your feet swell.
If you prefer, you can also opt for a lacing technique that allows for flexibility. Adjustable lacing, which involves passing the laces through special eyelets to gradually tighten or loosen them during the hike, gives you the freedom to make adjustments on the go.
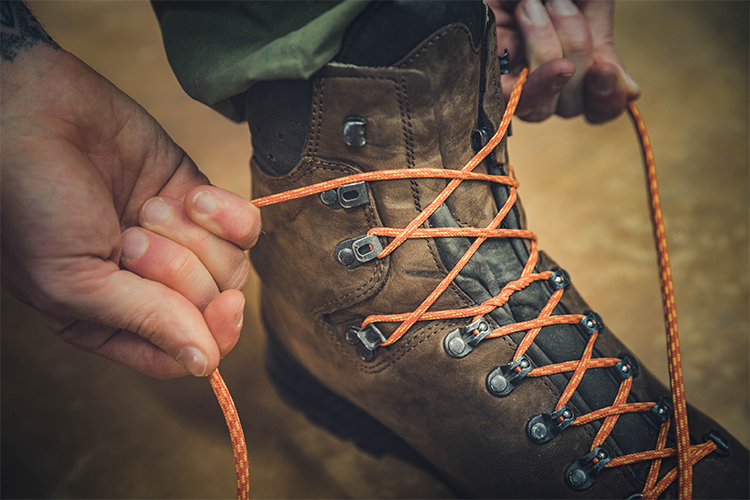
Choosing the Right Laces
While lacing technique is important, the type of laces you use can also affect your hiking experience. Many hiking boots come with durable nylon or polyester laces, but you may find that swapping them out for paracord laces or specialty laces improves performance. Paracord laces are strong, lightweight, and will not fray, making them an excellent choice for extended hikes.
Flat laces, commonly found on trekking boots, are less likely to come undone compared to round laces. Additionally, flat laces are easier to tie and adjust, ensuring a more secure fit on longer hikes. Be sure to replace worn laces before they break to avoid inconvenience on the trail.
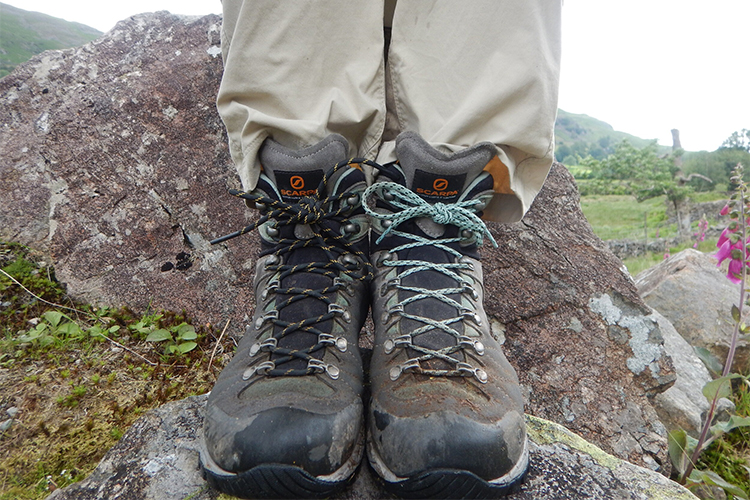
The Importance of Checking Your Laces Regularly
Once you’ve laced your boots using the method that works best for you, it’s important to check the laces regularly throughout the hike. Laces tend to loosen over time, especially on uneven or sloping terrain. Be sure to tighten them when necessary to ensure a secure and comfortable fit. It’s also a good idea to practice lacing your boots at home before heading out on the trail to get used to adjusting them and ensuring the best fit.
Conclusion
Lace up your hiking boots properly is a simple but essential step to ensure your hike is comfortable, safe and enjoyable. With the right technique, you can prevent foot discomfort, blisters and injuries and focus on the beauty of nature rather than foot pain. Whether you use a simple crossover lacing, heel lock lacing or toe box lacing, the key is to ensure a comfortable, secure fit that suits your individual foot shape and hiking needs.
In 2025, more and more hikers are realizing the importance of adapting their boots to different conditions, terrain and terrain using the right lacing methods. nd and individual preferences. Mastering the art of lacing your hiking boots will allow you to enjoy longer, more comfortable hikes while ensuring your feet stay happy and healthy with every step. Have fun on the trails!